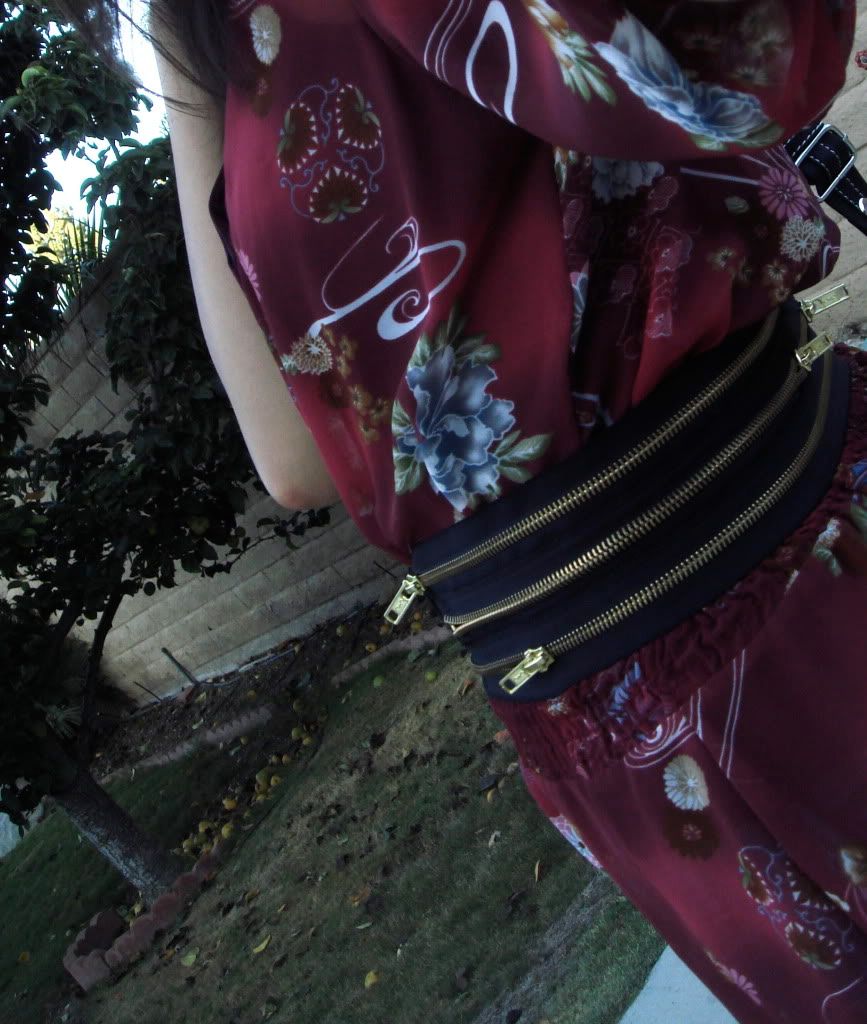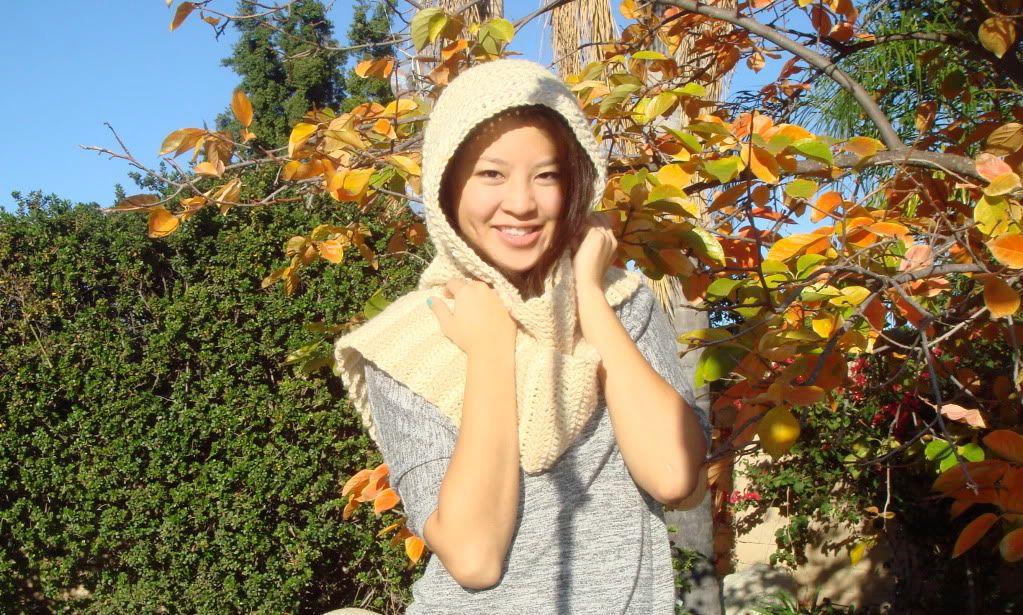
the hooded scarf. there's something strangely satisfying about putting a hood on different pieces of clothing, even though you could easily just drape and wrap a regular scarf around your head to make a hood.
i wanted one that was a bit chunkier, and wool, perfect as a huge bundle to hide your head and neck in. here's a semi-tutorial on how to make one --although the photos really aren't that great/non-existent since most of the time i crocheted while watching movies in the dark.
i'm sure you could totally knit this too. i just forgot how to =(
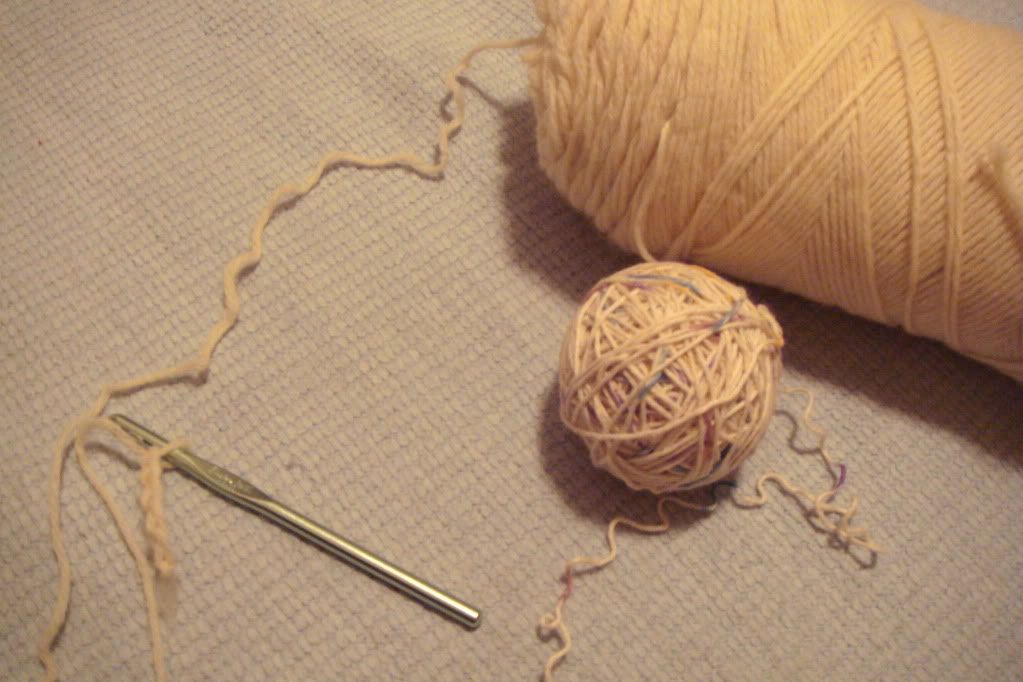
what you'll need: hook and yarn
obviously the size hook depends on what yarn you end up choosing. and how much yarn depends on how long/wide you want your scarf (and how big your head is too i suppose). mine ended up being a mix of 3 different yarns (random ones i had lying around). i'd say starting off w/ two skeins would be a safe bet.
1. crochet a single chain stitch as long (high) as your want your hood to beobviously the size hook depends on what yarn you end up choosing. and how much yarn depends on how long/wide you want your scarf (and how big your head is too i suppose). mine ended up being a mix of 3 different yarns (random ones i had lying around). i'd say starting off w/ two skeins would be a safe bet.
2. go back around and double stitch the length on both sides, doubling up (per stitch) at the end in order to round out the top.
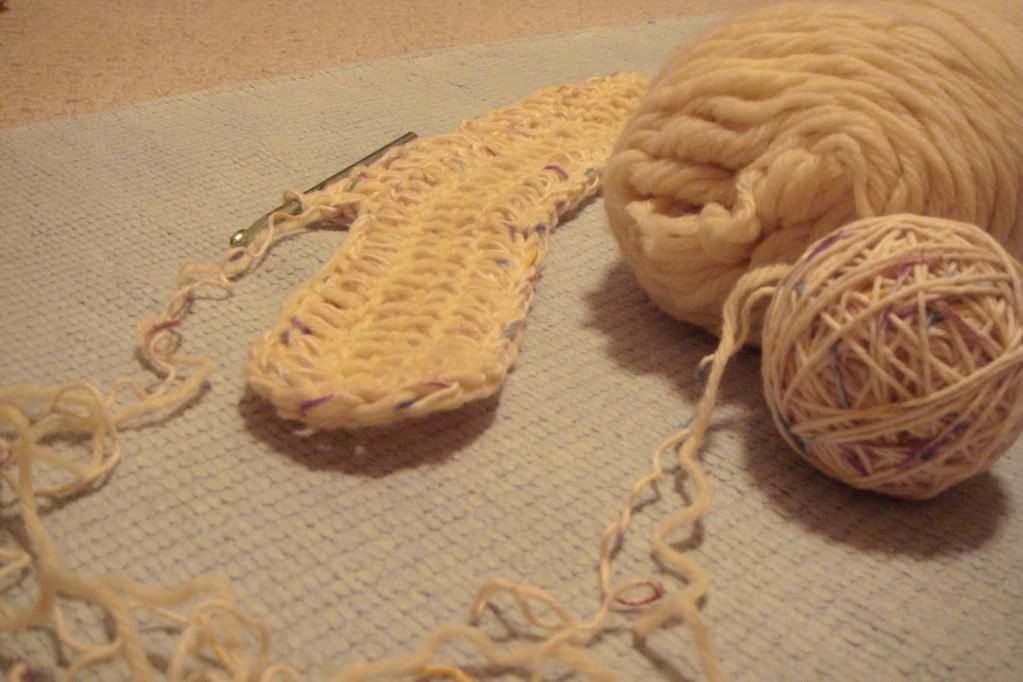
3. continue crocheting - keep doubling up at the ends in order to get hood effect. keep doing this until you're satisfied w/ the width of the hood.
(i sort of just winged this part... trying it on as i went)
4. after you've finished crocheting the hood cut the yarn. determine how wide you want the scarf portion to be and then start on the two ends of the hood...
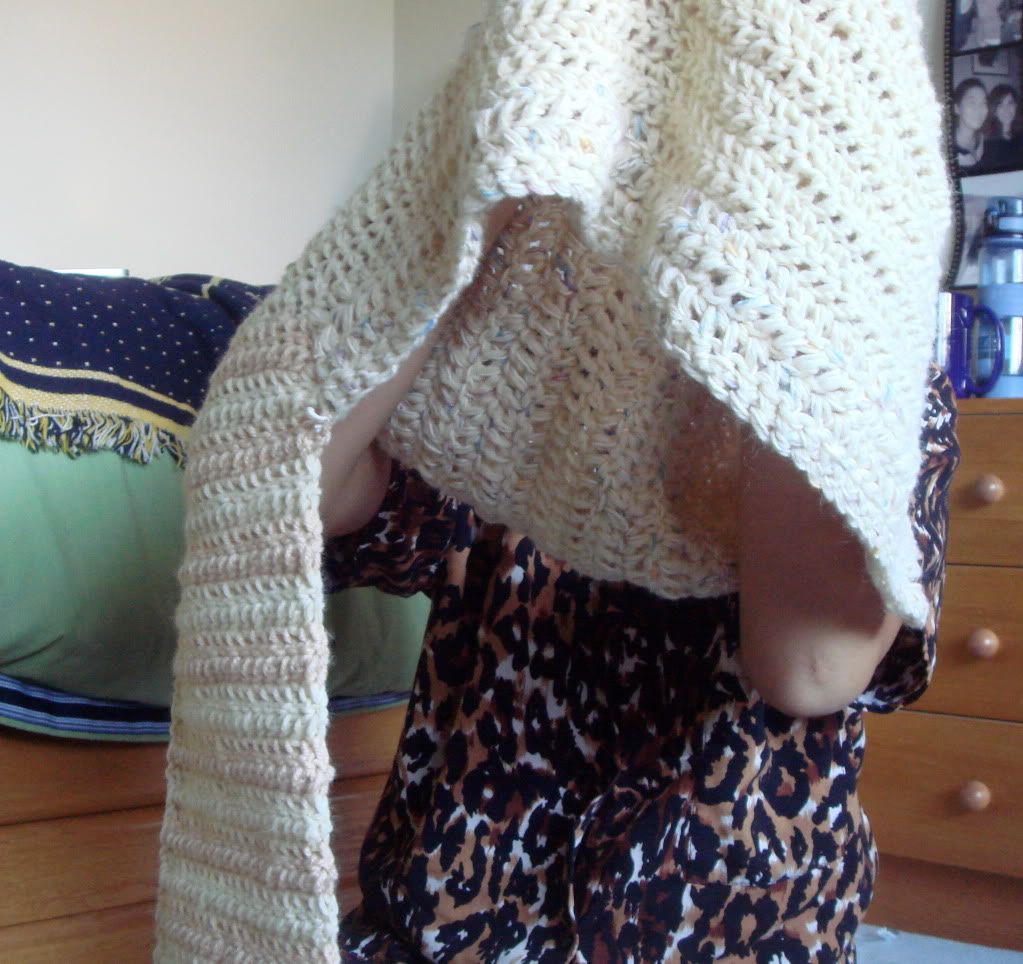
one side done.
(i was originally going to just make an attachable hood and crochet the scarf separately, with the option of buttoning the two together if desired. but my hood accidentally turned out to be too long so i just included it as part of the scarf. in hindsight, i also think it probably would have been too bulky had i done as an attachable... but it's an idea worth playing around with)
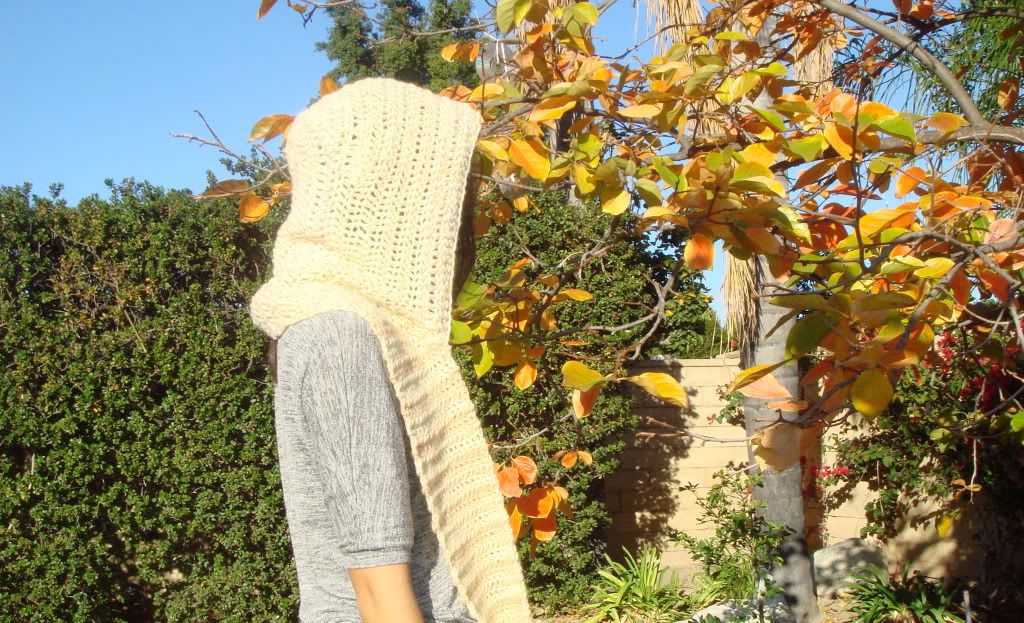
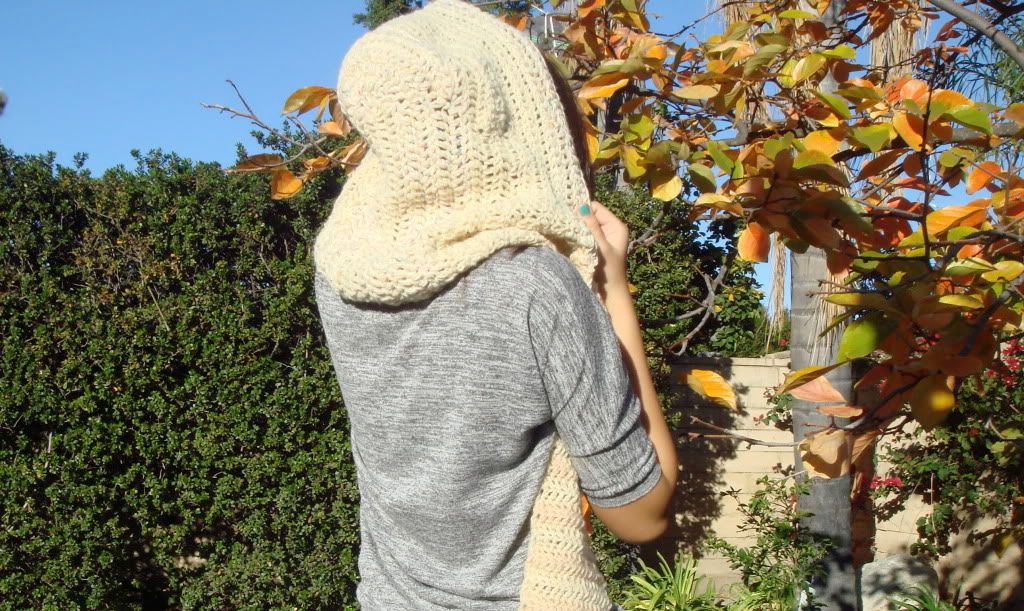
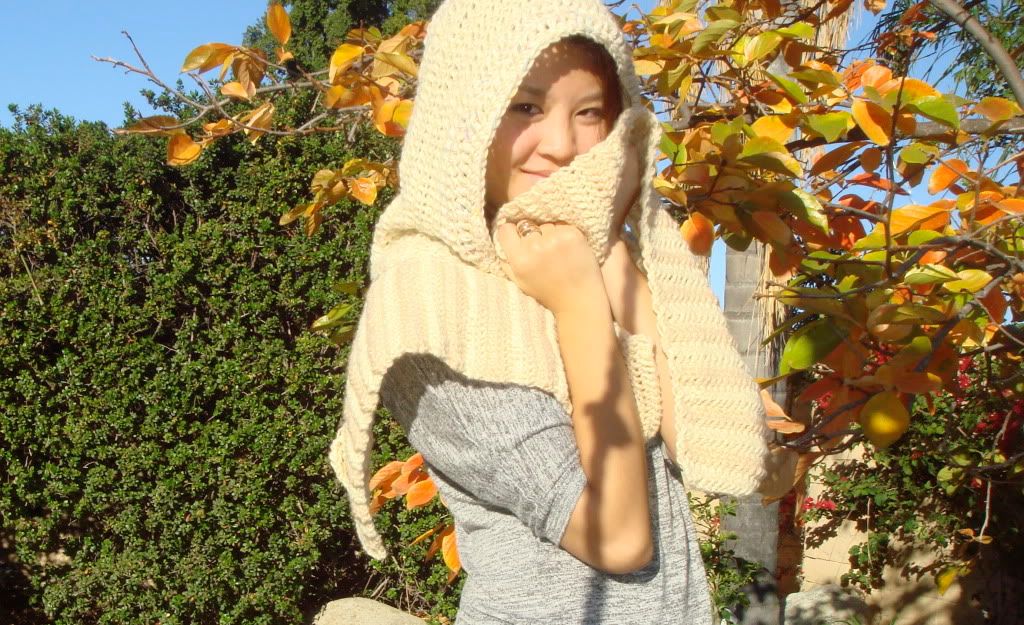
(tell me if this makes no sense at all... i suck at explaining these things)

